Who doesn’t love a Mason jar? They fit perfectly with vintage decor and they can be used for everything from canning tomatoes from your garden to displaying your favorite bouquet to sipping iced tea on the porch on a summer night. Whether you’re a DIY-er who wants to start making jam, a pro housekeeper looking to sterilize jars for a client, or wondering whether Mason jar sterilization is a job you should hire someone to do, we’ve created this guide to help you understand the entire process.
How to Sterilize Mason Jars Like a Pro
A Brief History of the Mason Jar
The Mason jar was invented by a man named John Landis Mason back in 1858. The jars were designed to be used in canning and were first manufactured by the Ball Corporation starting in 1884. Since then, Ball Mason jars have become more than a practical solution for canning. They’re a genuine design phenomenon.
The Mason jar’s most revolutionary feature was its airtight seal, which took the danger out of preserving food. It was the first resealable glass jar.
Today, Mason jars are still used to preserve food, but they’ve also become popular as a home decor item. They come in an array of colors and sizes.
What Cleaning Products and Equipment Are Used to Sterilize Mason Jars?
You won’t need much in the way of supplies or cleaning products to sterilize your Mason jars to make them safe for canning.
Cleaning Supplies |
Equipment |
Dish detergent |
Glass canning jars (Mason jars) |
Sponge |
Boiling water canner or a large pot with a rack |
Kitchen tongs or a jar lifter |
|
Clean dishcloths or towels |
You won’t need much in the way of cleaning supplies or special equipment to sterilize your Mason jars. Before you start, make sure you have cleaned:
- Countertops
- Dishcloths
- Pot/canner
The last thing you want is for an unclean work surface to transfer bacteria to your sterilized Mason jars.

Do Mason Jars Used in Canning Need to Be Sterilized Before Use?
Mason jars don’t require sterilization if you’ll be processing them for more than 10 minutes or if you’re pressure canning the contents. The processing will kill harmful bacteria and ensure that the contents are safe to eat.
You do need to sterilize Mason jars if you’ll be processing the jars for less than 10 minutes. Even if you don’t need to sterilize the jars, heating the jars is the best way to prevent them from cracking when you put hot food into them. This method works if you want to know how to sterilize Mason jars without a canner, too.
How to Sterilize Mason Jars in Boiling Water
The sterilization method that’s approved by the National Center for Home Food Preservation is to sterilize Mason jars in boiling water. Follow these steps.
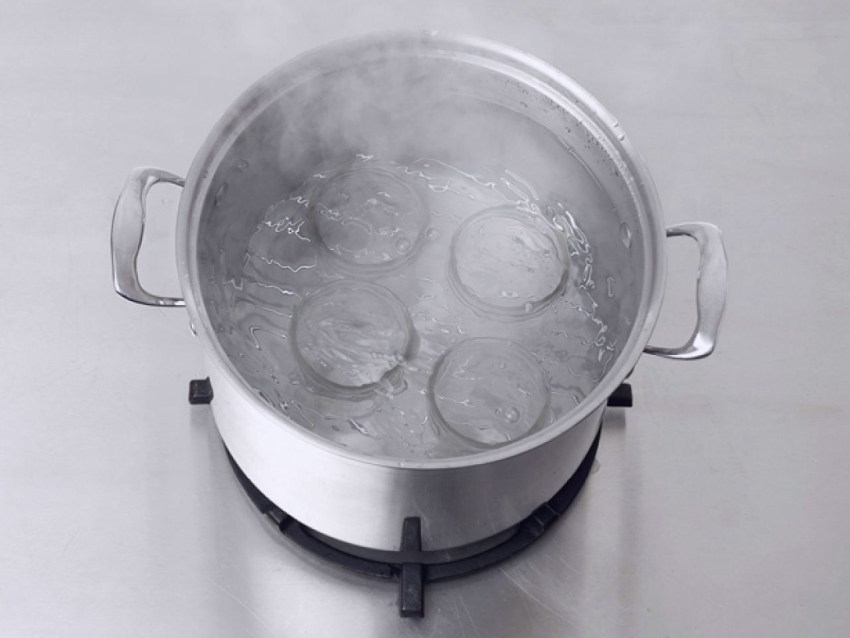
Step 1: Place a rack at the bottom of a large stainless steel pot at least two inches taller than your jars, or if you have one, use a boiling water canner. The rack prevents the jars from bouncing into each other and potentially breaking.
Step 2: Fill the jars with water, then fill the pot. The water should be one inch above the tops of the jars.
Step 3: Put the filled pot on the stove and turn the heat to high. When the water reaches a roiling boil, start timing.
Step 4: Boil the jars for 10 minutes if you’re at an altitude of 1,000 feet or less. For higher altitudes, add one minute of boiling time for each additional 1,000 feet of elevation.
- Between 1,000 and 2,000 feet: boil for 11 minutes
- Between 2,000 and 3,000 feet: boil for 12 minutes
- Between 3,000 and 4,000 feet, boil for 13 minutes, etc.
The additional boiling time is necessary because water boils at a lower temperature as elevation increases.
Step 5: Turn heat off and allow the jars to cool. You can leave the sterilized jars in the water for up to an hour if you need time to prepare food for canning.
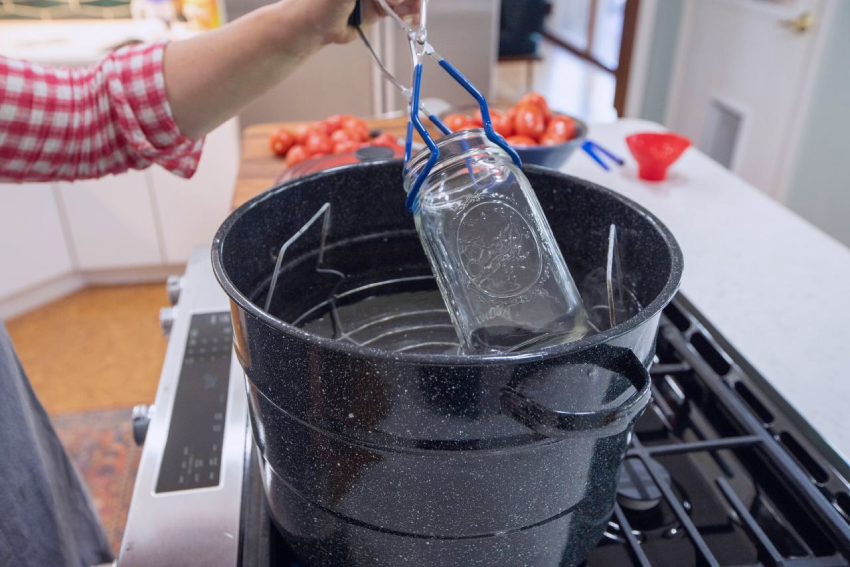
Step 6: Using tongs or a jar lifter, gently remove each Mason jar from the pot, empty it, and place it on a clean surface to dry. Don’t use dirty dish towels or place jars on a dirty counter. If you do, you’ll risk food contamination.
To see an overview of the process, check out the video below.
How to Sterilize Mason Jars in the Oven
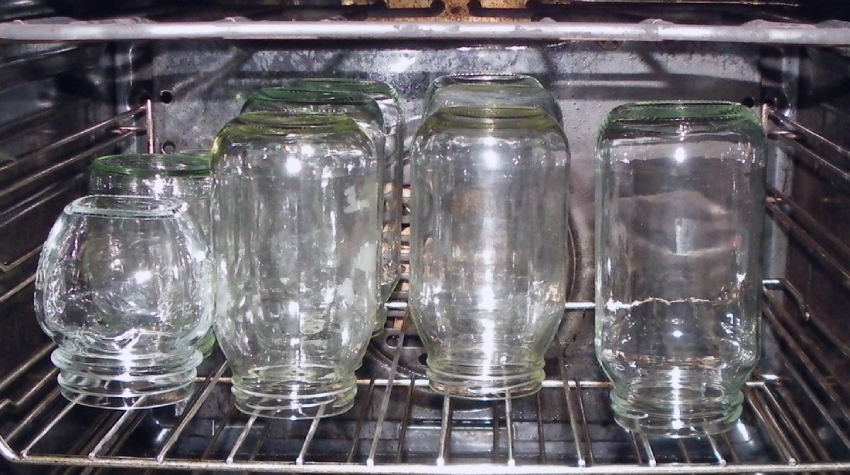
Another method that you may read about is to sterilize your Mason jars in the oven. While this method has received some attention, it’s not recommended by the FDA and may not be as safe as the boiling method. Here are the steps to follow.
Step 1: Preheat your oven to 275° Fahrenheit.
Step 2: Wash your Mason jars with soap and hot water.
Step 3: Rinse (but don’t dry) each jar.
Step 4: Place rinsed jars on a baking sheet.
Step 5: Place the baking sheet in a clean oven and bake for 10 minutes.
Step 6: Place jars on a clean surface. Keep them warm until they’re ready to fill.
Again, the FDA has not approved this method. Some people like it and it may be the preferred method for someone who can’t lift a heavy pot of water.

How to Sterilize Mason Jar Lids
It’s a common mistake to think that Mason jar lids (which include two parts, the airtight lid and the ring that holds it on the jar) must be sterilized in the same way that Mason jars are. That’s not the case.
- The rubber ring on the Mason jar lid is what provides an airtight seal that prevents contaminants from getting into your food.
- Boiling may damage the fragile rubber.
- If the seal’s not airtight, bacteria may thrive.
Here’s the process to properly prepare Mason jar lids for canning.
Step 1: Place both the rings and lids in hot, soapy water.
Step 2: Wash each lid and ring using a clean dishcloth or sponge.
Step 3: Rinse the clean lids and rings in hot water.
Step 4: Place on a clean surface to dry.
If you’re worried about not boiling Mason jar lids, you can opt to increase the processing time for your recipe by one minute to ensure that the lids are free of contaminants.

Frequently Asked Questions About Sterilizing Mason Jars
Here are some of the questions that we hear related to sterilizing Mason jars.
Question |
Answer |
Do Mason jars need to be sterilized for canning? |
You will need to sterilize Mason jars if your canning recipe calls for a processing time of less than 10 minutes. Longer processing times will reliably kill bacteria. |
What is the simplest way to sterilize Mason jars? |
The easiest and safest way to sterilize Mason jars is to boil them in a large pot or canner. |
Can you sterilize Mason jars without boiling? |
There are methods you can use, including sterilizing in the oven or the microwave. However, the FDA has approved only the boiling method as being safe. |
Is it safe not to sterilize Mason jar lids? |
You don’t need to sterilize Mason jar lids. Boiling may destroy the rubber seal and the lid won’t come into contact with whatever food you’re canning. |
Sterilizing Mason Jars is Easy with Help from the Pros
Whether your plan is to preserve tomato sauce to get you through the winter months or make jams and jellies to give as gifts, the methods our Pros use can help DIYers and professional cleaners get Mason jars ready to be used–and free of bacteria!