Are you tired of dealing with a faucet head that’s clogged with stubborn buildup? We have the ultimate guide for you to make cleaning your faucet easier than ever. In this step-by-step guide, we’ll show you how to clean your faucet head and remove all those pesky deposits. Say goodbye to low water pressure and hello to a sparkling clean faucet! All you need are a few simple materials and some easy-to-follow instructions. Let’s get started.
How to Clean a Faucet Head: Say Goodbye to Stubborn Buildup
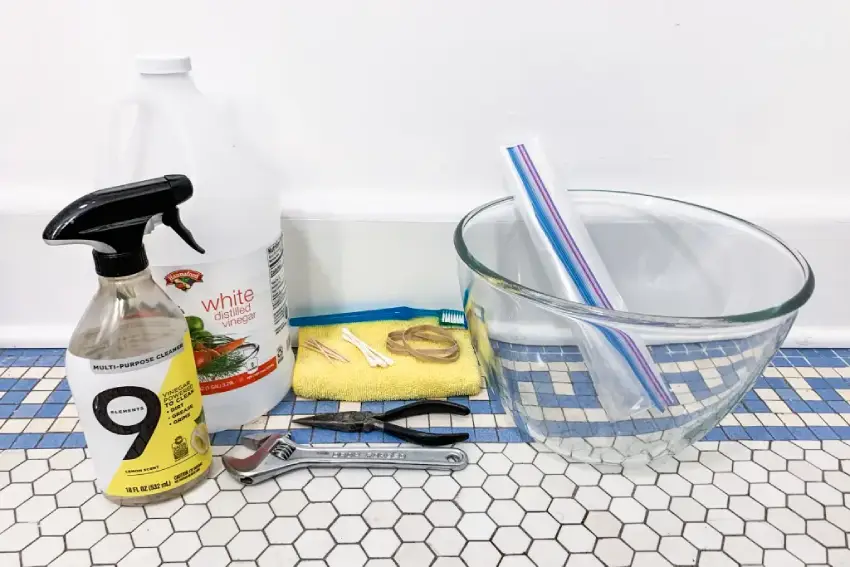
Materials Needed
- White vinegar
- Small bowl or plastic bag
- Toothbrush or small brush
White vinegar
White vinegar is a versatile and affordable cleaning agent that effectively removes stubborn buildup, such as hard water stains and mineral deposits. Its acidic properties help break down debris and leave your faucets sparkling clean.
How to properly dilute white vinegar:
To dilute, mix equal parts of water and vinegar in a small bowl or plastic bag. This balanced solution will prevent any potential damage to the surface being cleaned.

Alternative options if you don’t have white vinegar:
If you don’t have white vinegar on hand, there are alternative options available for cleaning your faucet head. Lemon juice can be used as a natural substitute due to its acidic properties. Baking soda mixed with water can also be used as it forms a paste that can quickly remove buildup when applied with a brush or toothbrush.
Small bowl or plastic bag
When selecting a small bowl or plastic bag, opt for one that comfortably accommodates the faucet head components without overcrowding. Ensure there’s enough room for them to be fully submerged in vinegar so that the entire faucet gets a thorough clean.
To avoid any potential leaks or spills while using a plastic bag, make sure it is durable and properly sealed around the faucet head. Double-check that there are no holes or tears in the bag before adding vinegar to prevent any messes during the soaking process.
Toothbrush or small brush
Using a toothbrush to clean your faucet head has several benefits. The small bristles are great for reaching tight spaces and removing stubborn debris. Additionally, the soft bristle options prevent the faucet surface from getting scratched or damaged during cleaning.
Other types of brushes that can be used as alternatives
If you don’t have a toothbrush you can use, a small household brush or even an old mascara wand can work well in reaching nooks and crannies while providing enough scrubbing power to remove debris. Always make sure that they are clean and dry before using them on your faucet head to avoid introducing additional dirt or bacteria into the area.
Paper towels or soft cloth
Paper towels are absorbent and can quickly soak up excess moisture. They provide a disposable option, avoiding the need to clean or reuse cloths after each use.
Different types of soft cloths suitable for faucet head cleaning and why they work well:
- Microfiber cloths: These ultra-fine fibers trap and hold onto dirt, debris, and bacteria effectively.
- Terry cloth towels: Their looped weave provides excellent absorption capabilities, making them perfect for drying faucets.
Wrench or pliers (if necessary)
To clean stubborn debris or mineral buildup from your faucet head, you might need a wrench or pliers to help disassemble certain parts. This will allow better access to hard-to-reach areas for thorough cleaning. Before using any tools, make sure to turn off the water supply and dry off any excess moisture from around the area. It’s important to handle both wrenches and pliers with care so as not to scratch or damage delicate surfaces such as chrome finishes or aerators.

Step-by-Step Guide
Step 1: Prepare the Faucet Head
Turn off the water supply by locating the shut-off valve under the sink. Protect surrounding surfaces by placing towels or a tray underneath the faucet to catch any drips or spills.
Step 2: Soak the Faucet Head in Vinegar
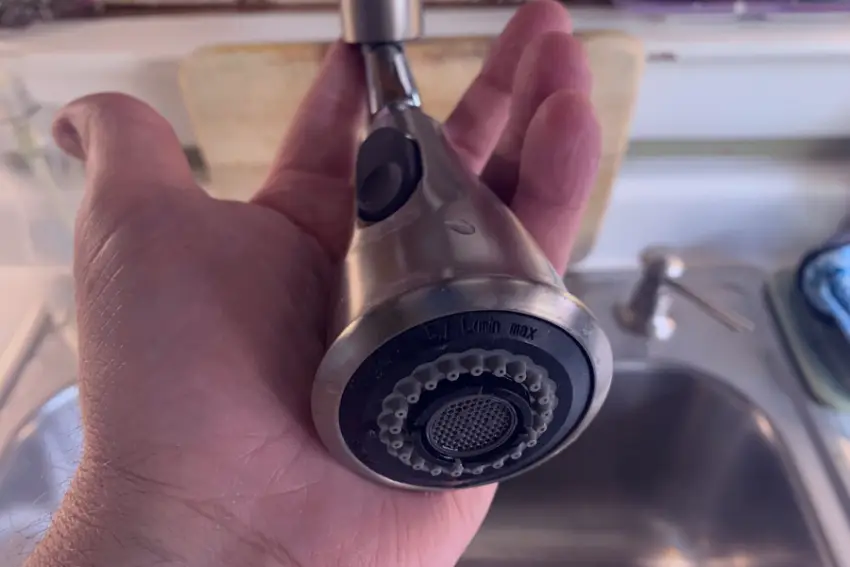
Remove the faucet head from the fixture to begin cleaning. Fill a container with vinegar, ensuring that there is enough to fully submerge the faucet head. Immerse the faucet head in the vinegar and let it soak for at least 30 minutes.
Step 3: Scrub the Faucet Head
Use an old toothbrush or small brush to scrub the faucet head. This will help remove debris and buildup that can clog the water flow. Pay attention to hard-to-reach areas, ensuring a thorough cleaning of the entire faucet head.

Step 4: Rinse and Dry the Faucet Head
To rinse, use clean water to thoroughly remove any remaining vinegar and soap residue. Make sure all surfaces are well rinsed to prevent any potential damage or buildup. After rinsing, dry the faucet head completely using a soft cloth or towel to avoid water spots and promote a shiny finish.
Step 5: Remove Hard Water Stains
To remove hard water stains, mix equal parts of lemon juice and baking soda to form a paste. Apply the paste to the stained areas and let it sit for 15 minutes. Scrub gently with a toothbrush, then rinse thoroughly with water.
For stubborn hard water stains, soak the faucet head in white vinegar for at least 30 minutes. After soaking, scrub away any remaining stains using a toothbrush or soft cloth dipped in vinegar. Rinse well and dry completely before reattaching the faucet head.
(Note: These methods may vary depending on the material of your faucet head.)
Step 6: Clean the Faucet Handles
To clean the faucet handles, start by removing any grime or dirt with a damp cloth. Then, mix equal parts water and mild dish soap in a bowl. Dip a soft brush or toothbrush into the soapy mixture and scrub the handles thoroughly, paying attention to crevices and grooves. Rinse off the soap with warm water and dry with a clean cloth.
Alternatively, if your faucet handles have hard water stains or mineral deposits, you can use white vinegar for an effective solution. Soak a cloth in vinegar and wrap it around the affected areas of the handles. Let it sit for about 15-20 minutes to dissolve the buildup. Afterward, scrub gently with a soft brush or toothbrush to remove any remaining residue. Rinse well with warm water and dry completely before using again.
Remember, regular cleaning of your faucet handles not only keeps them looking sparkling clean but it also helps maintain their functionality over time!