You might think your kitchen is clean and tidy, but what germs might be lurking where you can’t see them? Germs love warm, damp environments, and the inside of your coffee maker is the perfect place for them to multiply. A 2011 study found that coffee makers could contain all kinds of harmful nasties, from yeast and mold to coliform bacteria — that’s the family of bacteria responsible for salmonella and E. coli.
If you’re worried what might be lurking in your coffee maker, don’t panic. Our cleaning Pros know a thing or two about getting into even the hardest to reach areas. Follow these tips and keep your coffee maker as clean as new!
How often to clean coffee maker
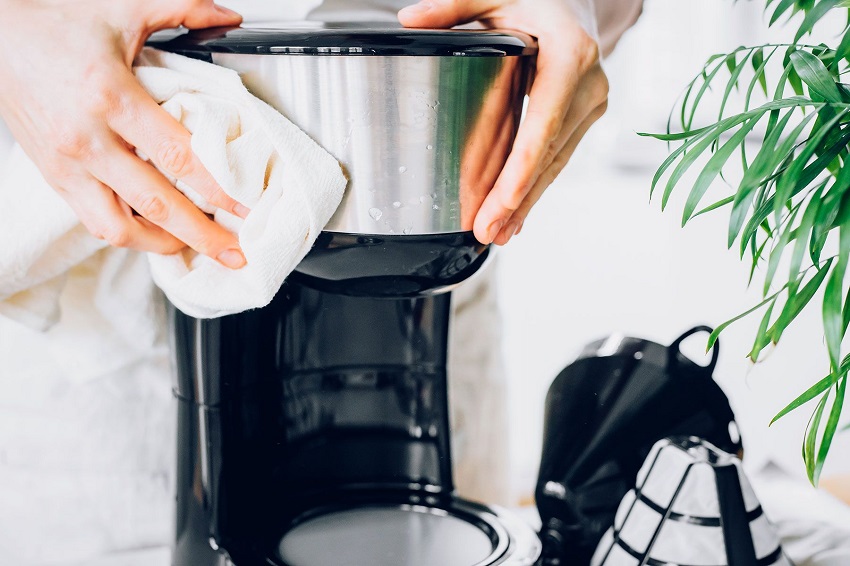
You should clean your coffee maker every 2-4 months, depending on how regularly you use it. However, that doesn’t mean you should ignore it the rest of the time. Mold likes darkness and humidity, so one of the best ways to avoid mold growth is to open the lid of your coffee maker when it’s not in use. This helps the water inside to evaporate and lets light reach the insides where mold likes to grow.
If you notice your coffee tastes bitter, or the coffee maker has a strong odor when in use, it’s time for a cleaning, even if it hasn’t been very long since it was last done. There are many variables that can affect coffee makers, from water hardness to the type of bean you use, so look for signs your coffee maker is getting dirty. A buildup of mineral deposits (also known as limescale) can affect the performance of your coffee maker and ultimately reduce its lifespan.
Pro Tip: Learn how to tackle mold anywhere in your home!
How to clean a coffee maker
There are many commercial coffee maker cleaning solutions available on the market. These products are often sold as de-scaling solutions and are available as tablets, powders or liquids. Most work using the following method, but always follow the instructions on any commercial cleaning product.
Step 1 — If your coffee maker has a reservoir, measure your cleaning solution and add it to the water reservoir.
Step 2 — For tablet and powder cleaning solutions, add enough water to activate the cleaner. Refer to the product packaging for details.
Step 3 — Run your coffee maker as usual until the reservoir is empty. Discard the dirty water.
Step 4 — Fill the reservoir and repeat.
Step 5 — Remove any remaining cleaning product from the reservoir and discard.
Step 6 — Fill the reservoir again with clean water and run at least two cycles to remove any last traces of the cleaning product.
Pro Tip: Your coffee maker isn’t the only humid spot in your kitchen. Keep mold at bay by cleaning your dishwasher too!
How to clean coffee pot stains
Coffee makers and coffee pots often suffer from a variety of stains. From the coffee itself, to hard water marks and buildup of limescale. The good news is all of these stains can be removed with a little TLC.
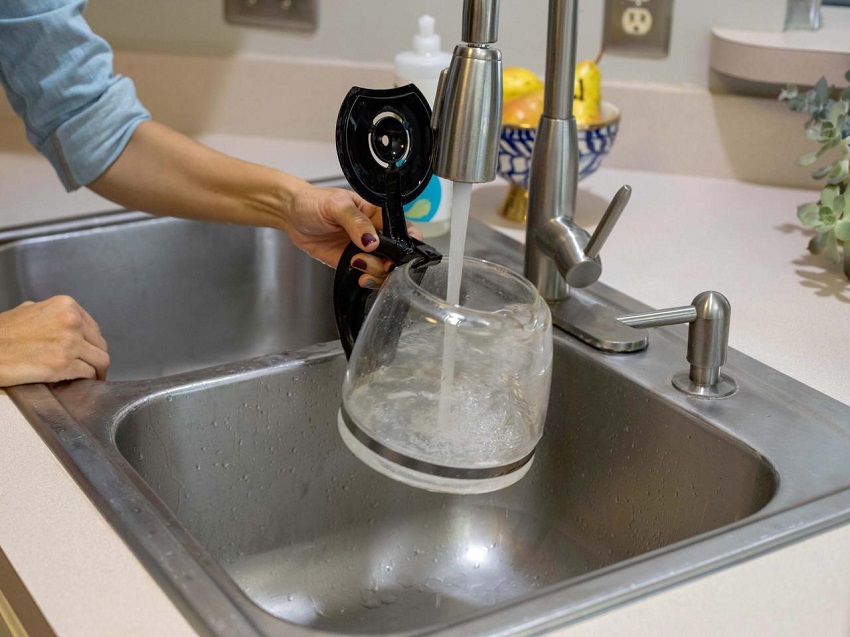
- To remove coffee stains from your coffee pot, fill it with boiling water and add a dishwasher detergent pod (or a squirt of dish soap). Let it sit for half an hour before emptying and rinsing with clean water.
- Use salted water to remove stains. Salt is a natural abrasive and strongly absorbent, so it has great cleaning properties. Sprinkle salt inside the coffee pot, leave for 5-10 minutes, then fill with boiling water. Stir to dissolve the salt and then let sit for 30-60 minutes before emptying and washing with fresh water.
- Most hard water deposits are made from calcium carbonate, a base. You can use acidic substances to break them down and remove them. This includes vinegar, lemon juice, and citric acid. Just use a 50/50 mix of water and your acid and soak the coffee pot to remove the stains.
Pro Tip: Keep cleaning! Learn how to clean your oven like a Pro
How to clean a coffee maker with vinegar
Vinegar is a fantastic all-purpose cleaning solution. It’s food safe, so it can be used on your coffee maker without risking your health if you don’t remove it all (although that will make your next cup of coffee taste funky!).
Step 1 — Fill the reservoir with 50/50 white vinegar and water.
Step 2 — Run a brew cycle, but stop the coffee maker halfway through.
Step 3 — Let the coffee maker sit for 30 minutes to allow the vinegar to work.
Step 4 — Complete the brew cycle and discard the dirty water.
Step 5 — Run at least two cycles of plain water, until you can no longer smell any vinegar in your coffee maker.
That’s all you need to do to clean your coffee maker! You can use distilled vinegar, white vinegar, or clean your coffee maker with apple cider vinegar. Don’t worry about the flavor or odor. As long as you flush the coffee maker thoroughly after cleaning with vinegar, you won’t notice any unpleasant smell or taste.
If you aren’t sure you flushed the vinegar well enough, try making a small test cup of coffee to see. It might not taste great, but vinegar isn’t harmful so there will be no negative side effects.
Pro Tip: Your humidifier can also get dirty and attract mold. Learn how to keep your humidifier clean now.
How to clean a coffee maker without vinegar
If you don’t have vinegar available, you can use citric acid or lemon juice instead. They work just as well as vinegar because they’re also mildly acidic. This helps to break down the calcium carbonate that collects inside coffee makers. Many people prefer using lemon juice or citric acid as a cleaner because the smell is more pleasant than vinegar. However, lemon juice in particular can be sticky if it isn’t thoroughly removed.
Both lemon juice and citric acid (which is really just the scientific name for lemon juice!) are food safe, so you don’t have to worry about any harmful side effects. You can use fresh lemon juice or a bottle of store-bought juice to clean your coffee maker.
Pro Tip: Keep cleaning, and keep pests at bay. Learn how to get rid of gnats!
How to clean a coffee maker with baking soda
Baking soda is also a great cleaning product, particularly if you combine it with other cleaners.
- Try filling a stained coffee pot with boiling water and add 2 tablespoons of baking soda. Stir to dissolve and let sit for 30 minutes to remove stains.
- Fill the reservoir and add 1/2 cup baking soda. Run the coffee maker to flush the machine. Discard the water. Run two more cycles with fresh water to remove any last residue.
- Add a tablespoon of baking soda to the bottom of your coffee pot before running a cleaning cycle with vinegar or lemon juice. The reaction between the soda and the acid will create even more amazing cleaning power!
- You can also use baking soda to test if you’ve successfully cleaned all the vinegar/citric acid/lemon juice out of your coffee maker. Add a pinch of baking soda to the bottom of the coffee pot and run a freshwater cycle. If you see any fizzing, there’s still some acid in there!
How to clean a single-serve or Keurig coffee maker
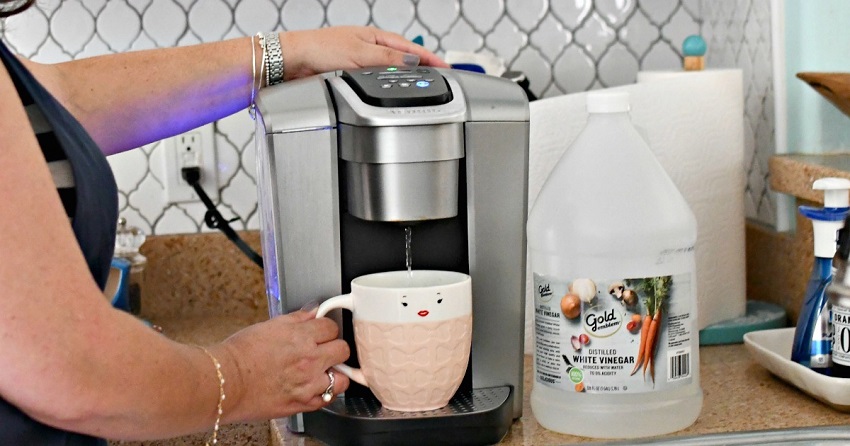
Most commercial coffee maker cleaning products can be used on single-serve (Keurig-style) coffee makers. You can also create a DIY coffee maker cleaning solution with vinegar, citric acid, or baking soda, and they are safe to use on single-serve machines. Always add the cleaner to the reservoir and run the cycle without installing a K-cup.
Note that Keurig only recommends one brand of cleaning and descaling solution for its machines, and recommends that their coffee makers be cleaned every 3-6 months, depending on usage.
In conclusion
Cleaning your coffee maker is a simple task, but one that often gets overlooked. With the Pros in your corner, you can keep your coffee maker cleaned and stay ahead of mold, bacteria, and limescale. Not only will your family stay healthier, but your coffee will taste better too!


