Clean the Ice Bin Separately
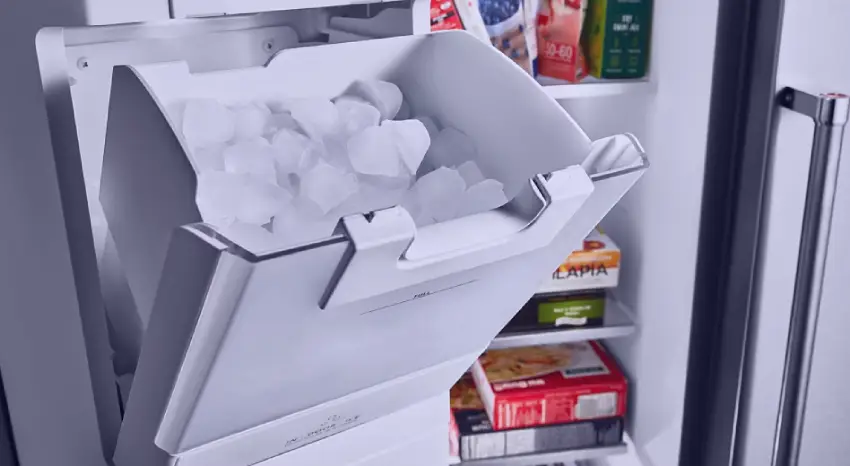
In order to detox your ice bin correctly, start by emptying all ice from the container. Proceed to wash with warm, soapy water. Make use of a soft cloth or sponge to scrub gently, reaching into corners and underneath to dislodge any stubborn dirt or ice residue.
Don’t overlook the significance of cleaning your ice bin separately. It can catch a variety of particles and bacteria that not only cause unpleasant odors but may harm your health over time.
Ensure you rinse the ice bin thoroughly after washing. Any soap residue left can taint the flavor of your ice. Once cleaned, leave the bin to air dry completely before putting it back to its rightful place.
You might be wondering if you could clean the ice bin along with the ice maker itself for convenience. However, this may cause cross-contamination between parts, leading to the ice maker’s inefficiency sooner or later. Therefore, a separate cleaning is crucial.
Remove and Clean the Ice Maker
Accessing your ice maker might seem complicated, but it’s usually quite straightforward; you only need to follow the manufacturer’s guide. For these appliances, the two-step process typically involves flipping a switch or lifting a wire arm, followed by unscrewing or unhinging to achieve removal. Be sure to delicately handle all parts to prevent damage.
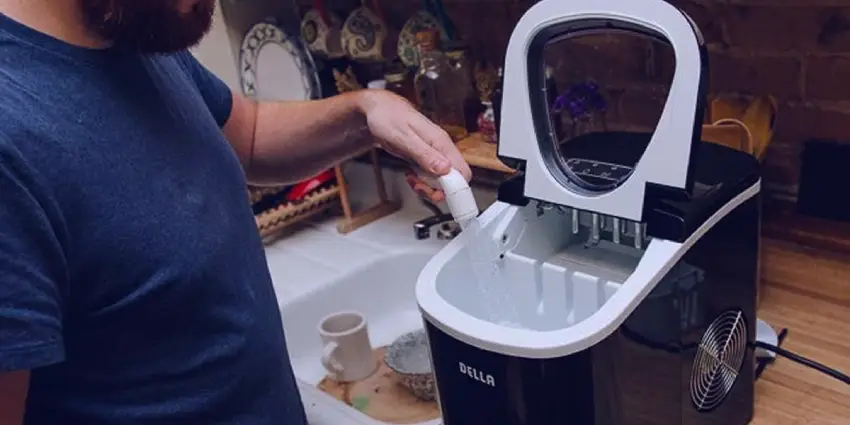
When it comes to the cleaning process, a gentle scrub with a soft brush dipped in a mixture of warm water and mild detergent will suffice. This process helps eliminate any build-up effectively. Never forget to rinse thoroughly to avoid that unwanted soapy taste in your next batch of ice.
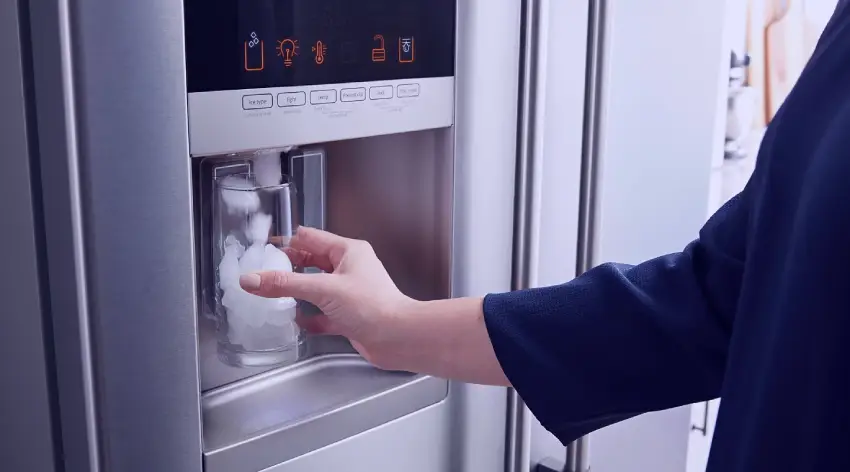
For Ice makers like GE, Whirlpool, and Frigidaire, specific instructions may apply. GE and Whirlpool ice makers often have an easily accessible ‘clean’ button that starts an automatic cleaning cycle, but Frigidaire models would ordinarily need manual cleaning. However, always consult your user manual for specific cleaning procedures before starting.
While vinegar is an excellent choice for cleaning many kitchen appliances, it is advisable not to run it through ice makers as it could damage the machine’s interior components over time. Instead, consider using a manufacturer recommended ice machine cleaner to ensure the longevity and appropriate functionality of your appliance.
Sanitize the Ice Bin and Ice Maker
To effectively sanitize your ice maker and bin, use a vinegar-water solution (1:1) or a mild bleach solution (1 tbsp bleach to 1 gallon water). Remember to rinse well to avoid residual flavors.
Sanitizing your ice maker doesn’t only enhance cleanliness but also ensures safety within your kitchen. Always strive to get rid of food particles, mold, or other harmful contaminants that can deteriorate the quality of your ice.
Wipe Down the Exterior of the Ice Maker
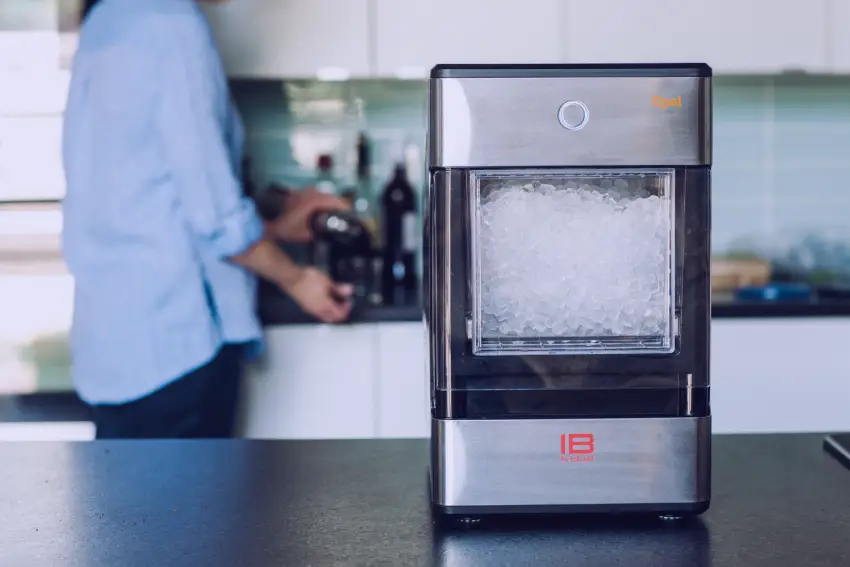
Begin cleaning the exterior of your ice maker by dampening a soft, lint-free cloth with gentle cleaner. Work on small sections, removing grime and finger smudges to leave a gleaming finish. For stubborn stains, you may require a non-abrasive scourer and mild dish soap.
Avoid harsh chemicals or abrasive cleaners that can scratch or damage your ice maker’s surface. Instead, opt for natural cleaners like mild soaps or diluted vinegar – these work effectively without the risk of corrosion or discoloration.
Don’t underestimate the importance of an immaculate exterior. Apart from aesthetics, an unclean exterior can harbor bacteria, leading to cross-contamination. Regular, thorough cleaning can prevent this, keeping your kitchen hygienic and ice tasting fresh.
Finally, take time to dry your ice maker thoroughly after cleaning. Not only does this prevent water spots and streaks, but drying helps to avoid any moisture buildup that could promote the growth of mold or bacteria. Be sure to reach any hidden corners or crevices.


