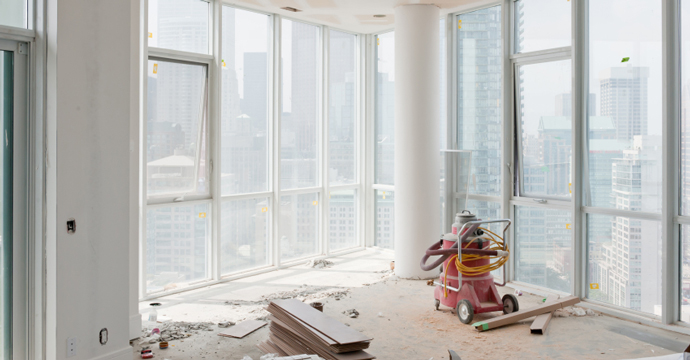
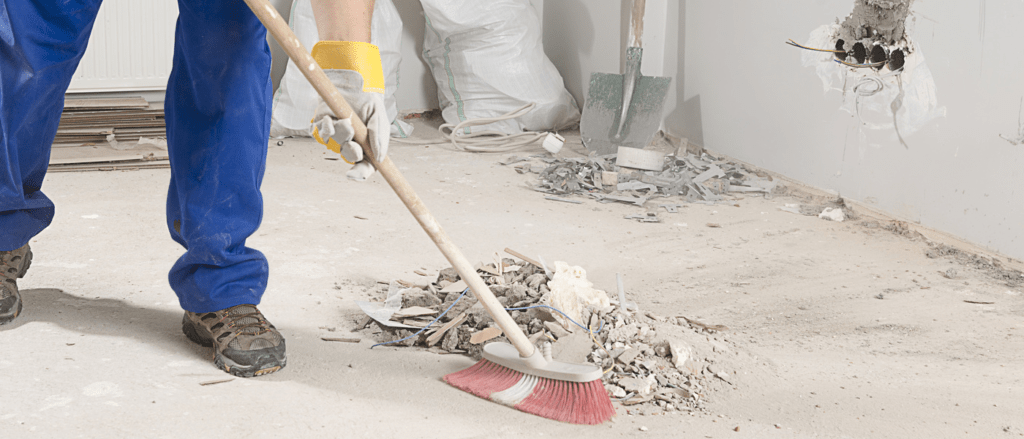
If you’ve been living with builders in your house, you know how destructive construction work can be. Even when everything goes according to plan and your tradesmen are as tidy as possible, dust and dirt are inevitable. With post-construction cleanup comes specialized cleaning requirements. Brick or drywall dust can damage your home if not cleaned properly, and some construction debris can be hazardous to your health.
Pro Housekeepers are experts at post-construction cleanups. Whether you’ve finished remodeling, are at the end of an insurance claim, or got carried away with the DIY, our post-construction cleaning tips will help you get your house back in order again so you can enjoy its new look.
Is post-construction cleaning hard?
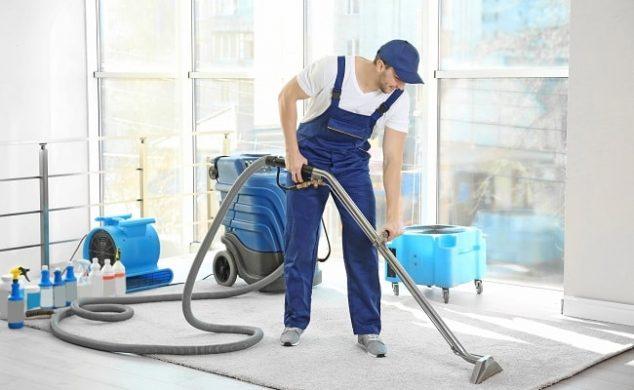
Before you begin, it’s important to consider if you should undertake a post-construction cleaning yourself, or call in the Pros. Although most aspects of cleaning after a renovation or construction work are similar to regular cleaning — dusting, vacuuming, and polishing — the work is more intensive, and may require specialist tools such as wet/dry vacuums, commercial floor polishers, and shop vacs (also known as bucket vacuums). You can rent most construction cleaning equipment from your local hardware store, but when you’ve factored in the cost and your labor, it might be more cost and time effective to call in an expert cleaning company.
Should you hire a professional post-construction cleaning company?
Post-construction cleaning checklist
If you do decide to DIY your post-construction cleaning, here’s the cleaning supplies you’re likely to need:
- Soft-bristled broom
- Stiff-bristled brush
- Handheld brush and dustpan
- Mop and bucket
- Cleaning rags
- Microfiber cloths
- Dusters
- Large sponges
- Magic erasers
- Plastic sheeting
- Masking or painter’s tape
- Putty knife
- Dish soap or all-purpose cleaner
- White vinegar
- Hydrogen peroxide
- Window cleaning solution
- Warm and cold water
- Stepladder
- Squeegee
- Trash bags
Pro Tip: Why vinegar? It’s a great eco-friendly cleaner that we at Pro Housekeepers love. Find out everything you need to know about cleaning with vinegar.
Post-construction cleaning PPE
In addition, it’s important to consider your safety as you clean by using Personal Protective Equipment (PPE). Contractors may have left nails, broken glass, or other sharp surfaces and objects behind. Always wear closed-toe, rubber soled shoes when you’re entering a property following construction work. Dust masks will protect your lungs while you’re working, and eye protection will prevent any irritation from dust or splinters.
- Rubber soled shoes
- Rubber gloves
- Dust masks
- Eye protection
Post-construction cleaning tools and equipment
You might not need all of these tools, but it pays to be prepared. Take a walk through your property and consider what sort of materials you need to clean (for example spackling paste, brick dust, or paint) and how you’re going to clean it.
- High-powered vacuum cleaner (also called a shop vac)
- Wet/dry vacuum
- Carpet cleaner
- Floor polisher
- Power washer
Don’t forget to consider trash removal. You’re likely to fill several trash bags with dust and debris (it’s surprising how it mounts up, even after a small renovation). If your contractors used a dumpster, ask if you can use that, or consider hiring a dumpster bag or speaking with your waste management company about collecting a large amount of trash.
Preparing for post-construction cleaning
Before getting started with a post-construction clean, it makes sense to get organized and take a logical approach to cleaning. This not only makes your cleaning more efficient, but will save time by avoiding the need to re-clean areas if you accidentally walk dust and dirt through them. As a general rule, aim to start cleaning at the farthest point from the front door, and work up to down, in to out. This way you’re always moving dust and dirt outside, rather than moving it around too much and creating more mess.
Try to get the area as dust-free as possible before you start cleaning intensively. Not only will this make your final task easier, it’s safer to avoid breathing in a lot of dust or debris. Seal off any rooms that aren’t affected using plastic sheeting available from most hardware stores, and use masking tape (also known as painter’s tape) to secure the plastic to your walls and doors without causing lasting damage. Don’t forget to block vents and openings with more plastic sheeting to protect your HVAC system.
For a first pass, use a soft-bristled broom to sweep each room as clean as you can. Even sweep the ceiling and walls to get all the loose debris, and brush toward the center of the room. If the dust is particularly bad, wear a good quality dust mask while you work. Lightly spraying the dust with water can make it easier to sweep.
Pro Tip: A wet/dry vacuum is great for picking up loose dust, or if the dust is really bad look for sweeping compounds at the local hardware store. These are sawdust-like mixtures used to bind dust and make cleaning a breeze.
Post-construction cleaning steps
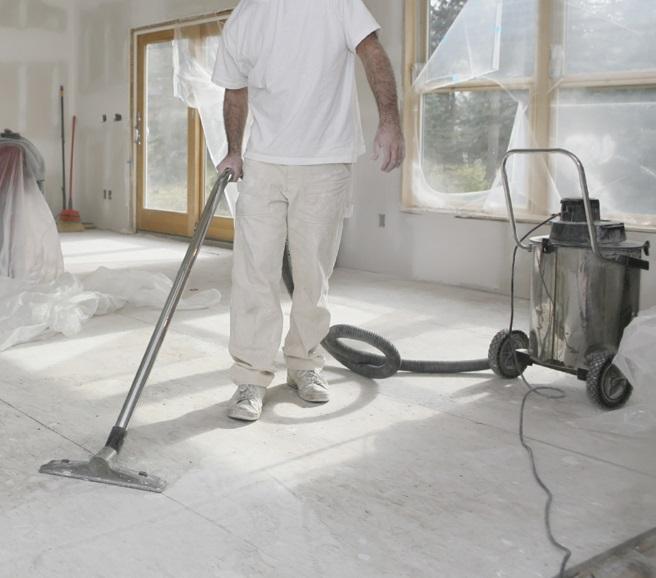
Once you’ve gathered your equipment and removed as much of the fine dust as possible, it’s time to really get to work. Major cleaning is usually done in several steps or passes, beginning with a rough clean and finishing with a touch-up clean as much as a week later.
- Rough cleaning
This is the first stage of a post-construction clean, and involves removing any debris and the major sources of dirt. Following a rough clean, the property will still be dirty by ordinary standards, but the majority of the mess will be gone.
- Remove any remaining construction debris
- Tackle stains and spots such as paint and caulking splashes and adhesive residue
- Wipe down windows, glass doors, and partitions
- Remove any stickers on glass or appliances
- Wash down walls, door frames, and baseboards
- Sweep and vacuum floors
Pro Tip: Don’t forget window coverings! Here’s how to clean window blinds and shades.
- Deep cleaning
Once the rough cleaning has been completed, you can go back over the property and conduct a more thorough clean to remove all the remaining dirt. Although it might seem to be creating more work to do a post-construction clean in two passes, it’s actually more effective. Even with the most careful cleaning, dust will still get moved around and end up settling after the first pass, so it makes more sense to clean all the major dirt and then start over to ensure everything is truly clean.
During a deep post-construction clean, start at the farthest point from the exterior and work down and out.
- Pay particular attention to kitchens and bathrooms
- Use a squeegee to clean windows, glass doors, and shower cubicles
- Wash walls, doors, baseboards, and cabinets
- Dust light fixtures and wipe down bulbs using a soft, dry cloth
- Use a vacuum cleaner to extract dust from vents and HVAC filters
- Wash carpets and clean floors
Pro Tip: Don’t forget your soft furniture and furnishings! Vacuum your chairs and sofas before you clean your carpets, and give your mattress some TLC.
-
Touch-up clean
In the days after conducting the deep clean, you’ll notice that more dust than usual has settled on flat surfaces. You might also notice smudges and fingerprints showing up on windows and mirrors. Use a damp microfiber cloth to wipe down level surfaces and walls, and clean the windows to remove the last signs of construction.
Pro Tip: Want to keep your home looking fresh and clean? Check out our ultimate guide to deep cleaning.
How to clean fine dust after a renovation
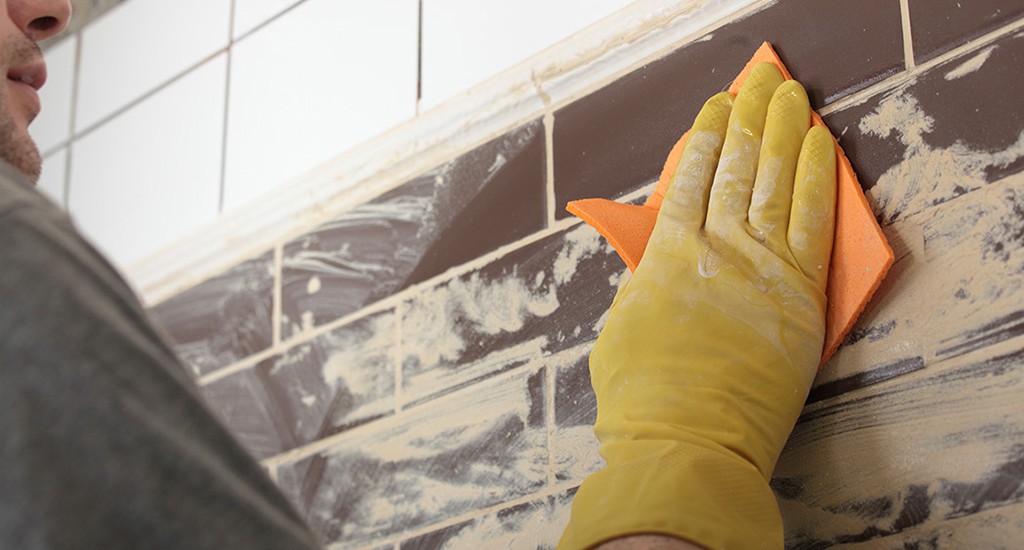
After most construction work, fine dust will be your biggest problem. Even when taking all the proper precautions, this kind of dust is almost impossible to completely contain. Unfortunately, it can cause damage if it clogs your HVAC system or gets into electronics.
The best way to clean fine dust is to use a damp microfiber cloth. If you get the dust too wet it will turn to mud rather than sticking to the cloth, so make sure to wring the cloth out until it’s barely damp. You just want to pick up the dust with the cloth, not soak it. This is a process you’ll have to repeat on every surface, including floors and walls.
Wash the cloth between each pass and change out the water you’re using once it turns cloudy. This will prevent reapplying wet dust to areas you think you’ve cleaned. Then let the area dry thoroughly and use a vacuum with a brush attachment to get rid of any remaining dust. Finally, spot clean with a damp cloth and give the walls and floor a final wipe down.
Pro Tip: If you have fine dust on a carpeted floor, rent a wet/dry vacuum from your local hardware store. Getting a vacuum with a HEPA (High Efficiency Particulate Air) filter will ensure it removes as much dust as possible.
How to clean drywall and plaster dust
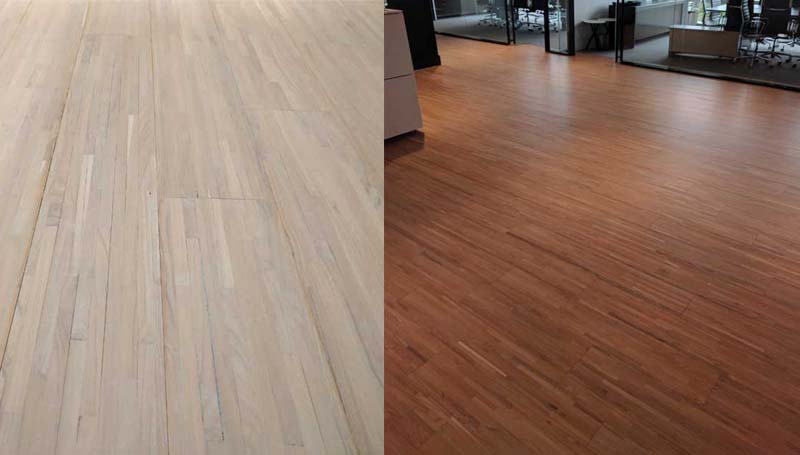
Drywall or plaster dust offers its own unique challenges to cleaners. If you get this dust too wet, you risk forming plaster and staining or damaging the surfaces of your house. If you suspect there’s plaster in the dust you’re trying to clean, follow these tips to minimize the risk of damage.
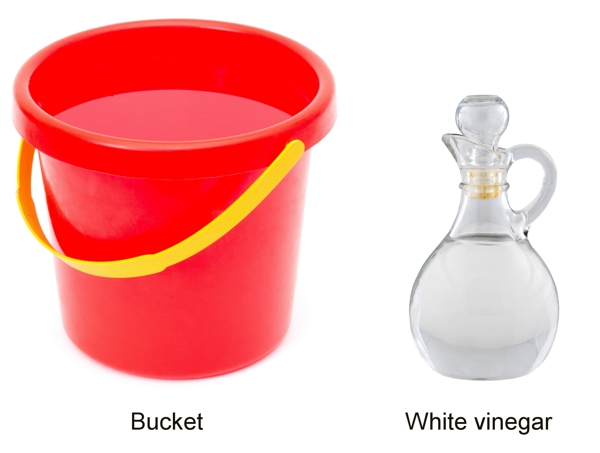
Make a cleaning solution by adding two cups of white vinegar to a gallon of warm water. Sponge mop a small area with as little water as possible and immediately dry completely with a towel. It may take several applications to get all the dust up and remove any white residue or dullness from wooden or tiled surfaces. Switch out the water and vinegar solution once it becomes cloudy to prevent recontamination.
Pro Tip: To save your water and vinegar solution, use a bucket of clean water to rinse out the plaster dust from your mop or sponge. Also change out the towel you’re using once it becomes too damp to dry effectively.
Cleaning post-construction brick and mortar dust
Brick dust tends to be heavier than other dusts, which can make it tricky to clean up. To start, use the nozzle on a powerful vacuum to suck up as much dust and debris as you can. Then dilute 1.5 cups of hydrogen peroxide in one gallon of water and use soft cotton rags to wipe dust off hard surfaces.
Be careful not to press too hard when cleaning brick dust, because it can cause scratches in wood, stone, and varnish. Some surfaces, such as granite countertops, need specialist cleaning. If in doubt, always spot-clean an inconspicuous area first or consult a professional for advice.
On soft surfaces such as carpet you’ll need to use a stiff-bristled brush and scrub the dust. Never get brick dust wet on a soft surface, because it will lead to staining. Scrub the dust loose and then vacuum up the excess.
Pro Tip: Used dryer sheets make great dust collectors. Simply run them along dusty surfaces and throw them away once they’re full.
How to clean spackling paste
Spackling paste is putty commonly used to fill small holes, cracks and surface defects in plaster, drywall and wood. Its versatile nature makes it popular with DIYers and professional renovators alike, and cleaning dried-on spackling paste is common during post-construction cleans. How to clean spackling depends on the surface it’s on.
How to clean spackle off tile surfaces
As a first step, wipe away as much paste as possible. Use a damp sponge and clean with a dry towel. If there’s any white residue remaining, sponge clean until it all comes off.
If you still have spackling dried onto the tiles that won’t come off with a damp sponge, try to scrape off as much as possible using a plastic putty knife so you don’t damage the tiles. Then cover the remaining spackling with a damp towel and allow it to soften until it will scrape up. Then sponge clean until the stains have gone.
How to clean spackle off wooden surfaces
Wooden surfaces are much more prone to water damage than tile, so you need to keep them as dry as possible. Wipe up any wet spackling with a dry towel and use window cleaner or white vinegar sparingly on the residue.
If the spackling is completely dried on, use wood oil to soften it until it can be scraped up with a plastic putty knife.
Cleaning tips for removing spackling from carpets
Don’t try to wipe up spackling paste from carpet because it will only create more damage. Instead, leave the paste to dry completely and start cleaning by breaking off and vacuuming as much of the spackling as possible. Then spray the spackling with carpet cleaner and blot with paper towels.
Final thoughts
House renovations can be exciting but also testing times. You want to reclaim your home and enjoy the changes, but post-construction cleanups can take a long time and become a real headache.
At Pro Housekeepers, we’re experts at cleaning up after builders and DIYers. Leave the stress of construction behind by calling in our team of friendly cleaning professionals. Our transparent pricing means no hidden surprises and we’re even available for same day appointments to have your home cleaned in no time at all. Give Pro Housekeepers a call and let us take care of all your post-construction cleaning needs today.
Are you a handyman? Check out this handyman app for invoicing
